Monday, February 22, 2010

Simple but pretty when growing out bangs

All that you do with this 'do is start by sectioning off a square or triangle at the top and putting it in a small pony... you can skip this if you aren't growing out bangs... you could also do more than one by dividing the sections.


Then, do a simple ponytail and do an upside-down pull-through... so the hair comes up and out the top...
tighten it, and smooth it out with your fingers and add a little spray to keep it spread out wide... it's very simple, but VERY pretty... without any added things to it, she got tons of compliments and questions on how we did this

Monday, February 15, 2010

French Braids when you're growing out bangs

With Valentine's Day over, we're taking a little break from more complicated styles and doing this nice simple one.

Right now, we're growing Ruthie's bangs out... so it can be hard to incorporate those into braids if you aren't really really good at braiding and working with mixing the shorter hairs without tons of flyaways and escaping hair.

So I started by sectioning off a rectangle/square top knot in a pony... you could do a pull through or reverse pull through if you want, but I didn't.


Then, divide all the hair, including that from the top knot pony in half... (I used a loose elastic to hold one side off while I did the first side)  Do a French Braid on each side... to incorporate the hair from the pony, I used it as the middle of the three starting sections on each side.


You can tie ribbons at the ends after sealing with elastics... you could also choose to tie a ribbon around the top elastic before you braid and braid in the ribbon in the section that uses the hair from the top knot pony.

I don't have any ribbon right now, or I would have done one or both of those things.... must get to the store and buy some.

Saturday, February 13, 2010

Taking a break

Not a long one... but I'd originally planned to put up a new valentine 'do this weekend... and instead, I just can't... I couldn't bear to sit there and do more than a basic pony in Ruthie's hair today... and she was so cheery and cute about it, too...

My grandfather, who has been like a father to me, has passed away (yesterday morning) and I need a few days to get past this.

We saw it coming, but it doesn't make it any easier.

So any of you who might be reading already (I know this is such a new blog that I'm most likely talking to myself), please understand.

Monday, with the kids going back to school, I will regroup and try to do as he'd want me to do... and keep living my life as I otherwise would... which means making sure my baby girl has nice pretty hair for school.

Friday, February 12, 2010

Another twist on Triple Heart Hair

This is another twist on this hairdo from another blog - http://www.princesshairstyles.com/2010/02/triple-heart-for-short-hair-too.html

This time, what I did was make both rows... the top row for the hearts, and the row below for anchoring...

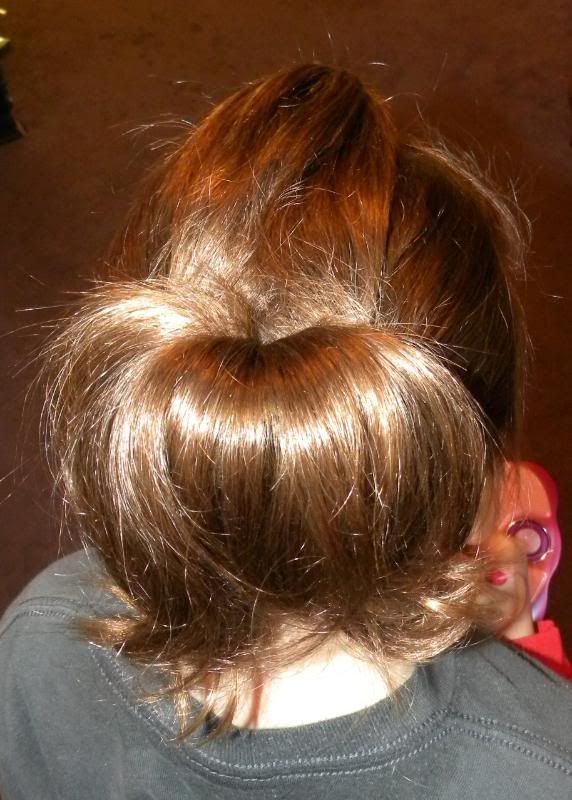
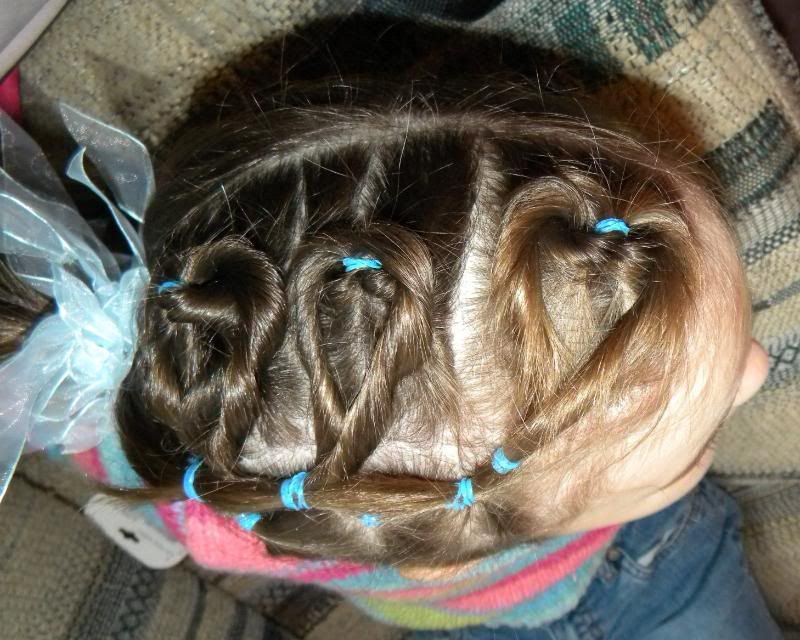
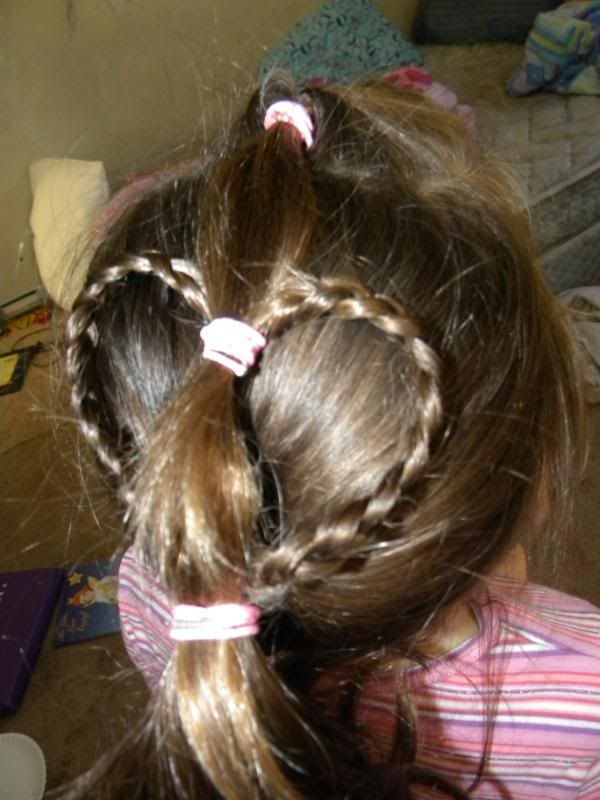
After making the three hearts and connecting them to the anchoring row, I then connected the ends of the hearts puffy-braid style, and pulled everything back into a pony with a really cute decorated elastic.


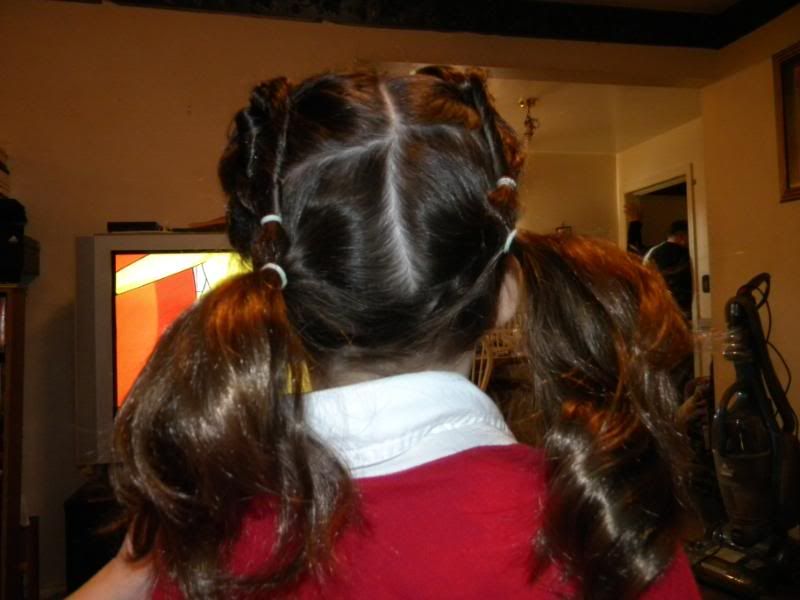
Triple Heart Pigtails - another twist on the same hairdo, this one is already a favorite... it stayed so well in her hair last night that all I had to do was take out the bottom tails, run a brush through them, and secure them again with fresh ties... the key, of course - HAIR SPRAY... on the hearts... tames the fly aways and helps it stay through sleep.  Tomorrow, I'm going to do this hairdo fresh, but add a new little twist on it.

Instructions 

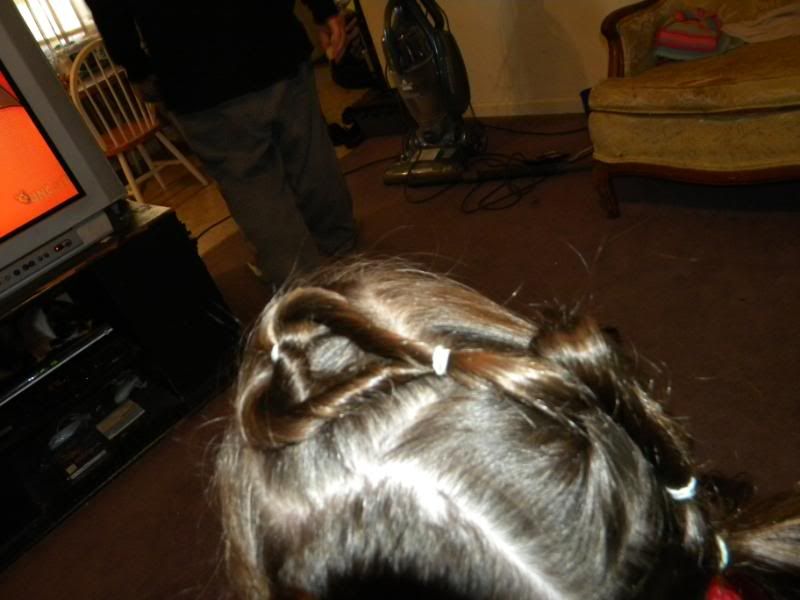
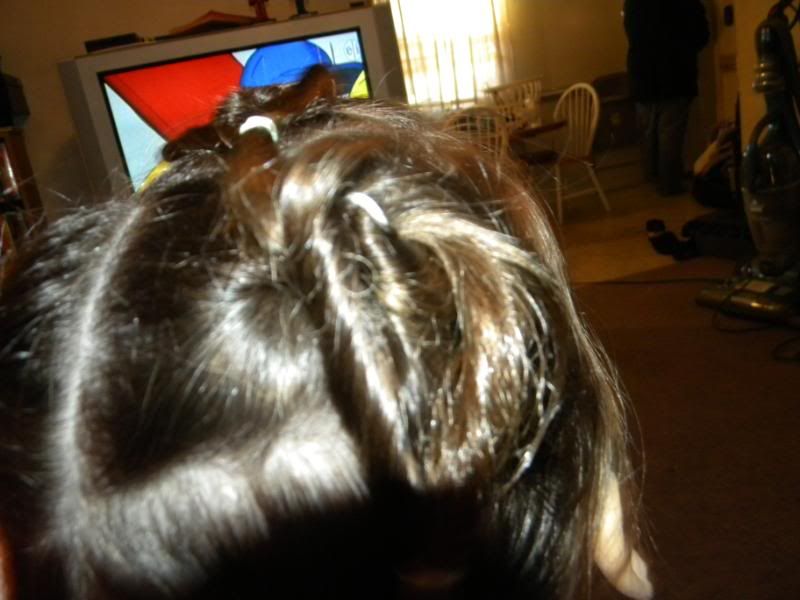
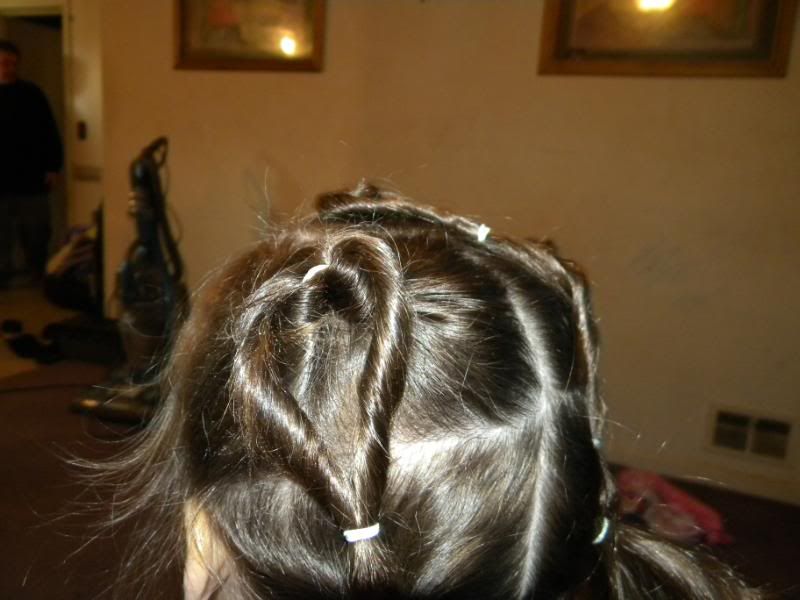
First - start like you would for the original do... make a section for the top knot of the head... do the upside down pull through, twist, and make the heart.. using an elastic to keep it together...


Second - part down the middle of the back of the head, just as you would for any set of pig tails - you'll use the side next to the end of the heart first, so just use a clip or cloth-covered elastic to hold the other side out of the way (in our case, it was the left, but you could do it the other way if you have a child with a part on the right side.

Third - now that you have your first heart and the rest of the hair on one side (in our case, the right side) , use your rattail comb to make another section close to the end of the first heart and secure it and the tail from that first heart with an elastic.  Do an upside down pull through, divide the hair, twist it, and make a heart, securing the ends with an elastic.


Now, you could repeat this if you wanted further down the head, but my daughter was adament that we do THREE hearts, so I went to the next step... but you could repeat the third step as much as you want or as much as your daughter's head will allow on that side.

Fourth - now take the tail from the second heart, the remainder of the hair on that half, and secure with an elastic to make your first pigtail

Fifth - going to the other side, take down the hair and hold it in one hand and use your rattail comb.  Start where you see the scalp where you made your section for your second heart on the first side... and run it across (so that it will match and look symmetric)... making a section for the heart... drop the rest of the hair in that side and just take up the section. - secure with elastic, upside down pull through, twist, make heart, and secure with another elastic.


Last - repeat the Fourth Step, unless you want to do more hearts first. - your finished product should look like this

Thursday, February 11, 2010

First Blog Post - Some Cute Valentine's Day Dos

I got this wonderful hairdo from another blog - http://www.princesshairstyles.com/2010/02/quick-and-easy-heart-ponytail.html - what I did differently was to use an upside-down pull through... which helped the top knot stay out of the way while I made the main pony.

I also didn't use a separate band to connect the braids before connecting them to the top pony... I just held the braids between my middle and ring fingers while I gathered the pony... then held that in my left, took the braids in my right, figured out the point of attachment, and pinched them together in my left and put the band on...

I then added a second band to the main pony to attach the ends... just as she did... I thought it turned out a little better on Ruthie's hair... and made it look a little more like a typical puffy braid, just with the heart coming out of the sides.


Four-Hearts in Hair

This would work on about any length hair, as long as you have enough to make the hearts... this is based on this hairdo -http://www.princesshairstyles.com/2010/02/triple-heart-for-short-hair-too.html

First, I made my row of hearts... I did four instead of 3, which was pretty easy... a rat tail comb makes straight sections really easy


Instead of doing a row of "anchoring" ponies, I simply connected the tails of the hearts and used an elastic band to tie them off, which kept them on the correct side of the head and not moving... but a different look


I did this because I thought it then kind of made it look like the hearts were sections of one big heart